
Engineers provide repairs and ammunition, deploy various turrets and handle explosives. Limited weaponry and survivability makes them a second line and support class. They’re also prime candidates for vehicle piloting.
Deployables
MANA Anti-Personnel Turret
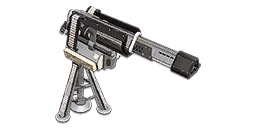
MANA Anti-Personnel Turret
Damage: 143 @ 10 – 125 @ 65
Rate of Fire: 550
Velocity: 600 m/s
Heat Capacity: 800
Heat Per Shot: 11
Heat Recovery Delay: 1 sec
Heat Recovery Rate: 265 per sec
Overheat Penalty: 1 sec
Headshot Damage Multiplier: 2x
Minimap Detect Range: 50
ADS Time To / From: 0.15 / 0.2
Projectile Lifespan / Gravity: 1.5 / 7.5
Starting CoF: 0.1
Maximum CoF: 0.75
CoF Bloom: 0.12[/spoiler]
Anti-infantry MANA turret is equipped with a machinegun and a faction-colored Nanite Shield.
Machinegun’s stats are close to a generic 143 damage LMG with low rate of fire, however it has no recoil and uses Heat mechanic instead of ammo.
The shield covers most of the turret from the front, and is completely invulnerable to all damage, but leaves the engineer’s head and base of the machunegun exposed to enemy fire. Turret’s barrel is transparent to enemy projectiles, but hits in the center of the turret will still damage it.
MANA Anti-Vehicle Turret
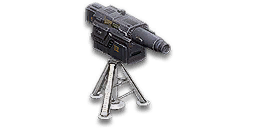
MANA Anti-Vehicle Turret
Direct Damage: 700
Direct Damage Resist Type: 34 – Infantry Rocket
Indirect Damage: 250 @ 0.5m – 50 @ 3m
Indirect Damage Resist Type: 6 – Common Explosion
Rate of Fire: 10 to 14 shots per minute
Velocity: 10 to 95 m/s
Heat Capacity: 800
Heat Per Shot: 800
Heat Recovery Rate: 160 per sec
Overheat Penalty: 1 sec
Headshot Damage Multiplier: 1x
Minimap Detect Range: 100
Projectile Lifespan: 3.2 sec (300m max flight range)[/spoiler]
AV Turret fires laser-guided missiles that follow the crosshair. In most cases, its damage to vehicles is comparable to that of a Heavy Assaults’s starting rocket launcher.
You can use the Toolbox to calculate its exact damage to different vehicles.
Spitfire Auto-Turret
Spitfire Auto-Turrets automatically engage hostile infantry within 50 meters. Placing a Spitfire turret has 35 / 30 / 25 / 20 second cooldown.
Spitfire emits sound effects to warn about its presence, can be destroyed by small arms fire or temporarily disabled by EMP. Ignores cloaked infiltrators.
Infiltrators can hack Spitfires, and make them work for their faction.
In general, Spitfires are not very threatening, but they do an acceptable job of warning you about enemies in the area.
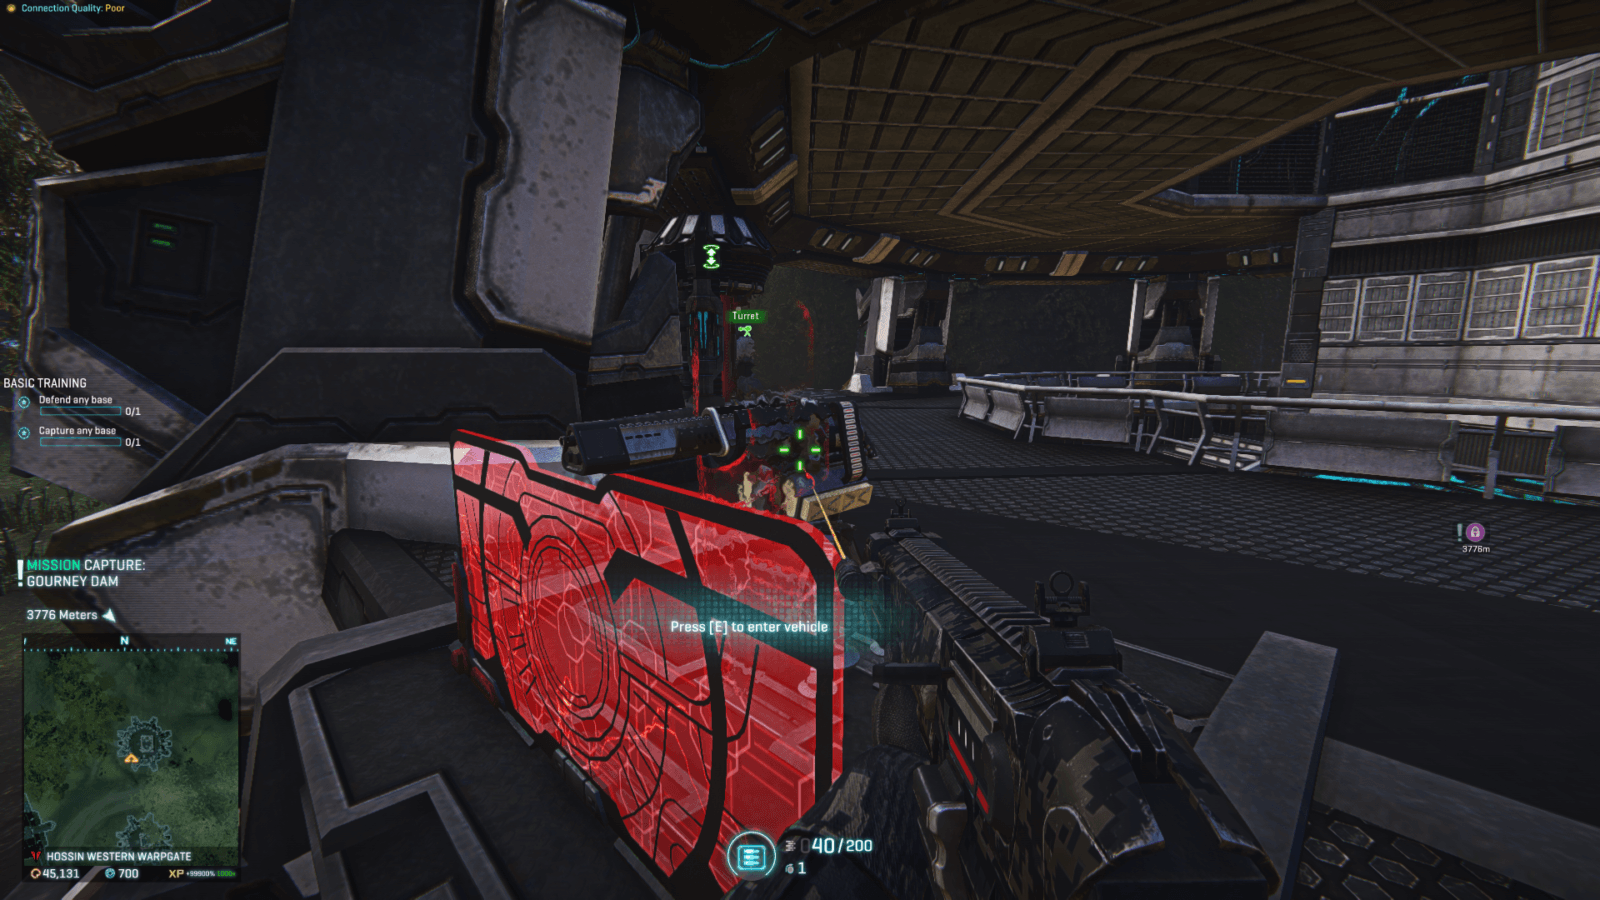
Hardlight Barrier
![]()
Instead of a turret, engineers can carry deployable cover kits. These shields are fairly small, almost enough to cover a crouching and immobile player from the front. Only one Barrier can be deployed at a time, and it has a cooldown.
It takes 0.1 seconds to deploy a Hardlight Barrier, and it can be placed on slopes with a maximum of 30 degrees of incline.
Hardlight Barriers are immune to bullets and melee damage, and take ~5 rockets from Heavy Assault’s default dumbfire launcher to destroy.
When enemies that have damaged (or just shot?) the shield are killed, their deaths count towards Draw Fire ribbon, which is a part of Engineer’s directives.
The general consensus is that deployable cover is useful, but it’s not worth 1000 certs / 10$ to unlock, and it’s not worth sacrificing the turret slot. Turrets can also serve as deployable cover (albeit not as effective).
Being able to deploy cover on demand is nice, but it’s hard to do under fire, especially on sloped surfaces, and Engineers have limited firepower, and cannot utilize that cover themselves very well.
Barriers can also be used to restrict enemy movement in narrow passages, doorways and on top of stair flights.
Hardlight’s Barrier’s redeeming quality is that it allows you to place it and be mobile. From the standpoint of completing Engineer’s Directives, it was much less aggravating than farming kills with MANA turrrets. It is better than turrets for those who like to move around, as you can drop the Barrier and then go work on your other directives.
Tips on using Hardlight Barrier:
- Don’t block friendlies. They are you meal ticket to finishing this directive quicker than a turret. Usually it’s a good idea to avoid placing Barriers directly in doorways. Place them a bit back, so people can pass through and slice corners.
- Don’t hesitate to move the Barrier, if you see more bullets hitting one side of an area.
- When crouching behind a barrier, looking down will make you more difficult to hit.
- Barriers on top of stairs are amazing, and quite good at deflecting some of enemy grenades during point holds.
- Farming ~50 Draw Fire ribbons takes roughly the same time as it takes a good player to auraxium a carbine.
Hardlight Barrier. Placing it wrong will get you and your friendlies killed more easily, but placing it right just makes you and your friendlies very difficult to kill.
What I like most about the Barrier is how it enables multiple different playstyles.
When I say jump, you ask how high
Restricting mobility is annoying. Well here’s Captain Annoying placing a barrier right in front of the door. Good luck coming in with a rush when you have to jump over a barrier making your accuracy garbage and losing all your momentum. The barrier also blocks grenades and rockets coming in.
Mined barrier
This is risky but can pay of in bad situations. Sometimes I just mine my own barrier so when enemies eventually rush my position they get a nasty surprise. Usually it’s good to wait until the last moment and place the mine on your side of the barrier so it’s more difficult to see and won’t blow up immediately if the shield takes a hit.
Setting up mines on front of the barrier is viable when there isn’t a lot of enemies coming at you. Then the mines are difficult to see too. Tank mines work too and you can shoot them from a far when enemies hug your barrier.
Peekaboo hole
This is the best thing I’ve come up with yet. You might have the urge to stick your barrier tightly to the wall. “Feels safe man.” Instead by leaving a small opening between the wall and the barrier, you can crouch behind the opening and fire out of it while enemies will have a near impossible task to try and hit you through the opening. This works wonders when you are in an elevated position. Battle Rifles are very good in these situations. Only thing you have to worry about is grenades and dodging them should be easy given you placed your barrier in a spot where you can retreat to safety.
You can notice how some of the advices contradict each other. This just goes to show that the Barrier is versatile and enables different playstyles.
Reserve Hardlight Barrier
Reserve Hardlight Barrier is a utility slot item. In overall functionality it is identical to the usual Hardlight Barrier. However, you carry only two Reserve Barriers with you, and spawning with each of them costs 50 Nanites.
Reserve Hardlight Barrier and the usual Hardlight Barrier can be placed right next to each other.
The main point of the Reserve Hardlight Barrier is to give you more flexibility in your loadouts; allowing you to deploy a Barrier and a Turret, or two Barriers at the same time.
Unlock cost: 500 certs.
Turret mechanics
All turrets
A turret can be deployed on any flat surface.
There is a small delay between the engineer clicking the button and the turret actually materializing. If during that delay a unit walks into turret’s position, he will be killed. This is hard to do intentionally.
Turrets are often used as deployable cover, as well as a stepping stone used to jump on boxes and stuff.
EMP Grenades will overheat and disable turrets for a few seconds.
Watch this video for more amazing things that can be done with turrets.
MANA AI and AV turrets
Can be manned only by the engineer that deployed them.
Engineers can deploy as many AI and AV MANA turrets during single life as they want, limited only by ability’s cooldown.
There is a small delay when engineer enters or exits a turret. It is possible to kill most engineers from a good position before they can react.
If the turret occupied by engineer gets destroyed, engineer will die with it. So if you’re playing a Heavy Assault, you can use your rocket launcher to hit the turret itself. This is even doable from the front, but you have to be very precise.
Both turrets can be upgraded in “Engineer’s Certs” to increase their heat efficiency.
Robotics Technician Implant
This Engineer-only implant provides damage resistance to non-mine deployables within 15m of the Engineer, and at maximum rank also makes them automatically repair themselves.
When Engineer is manning a turret, this damage resistance is applied to him as well.
Mines
Mines come in two flavors:
- Anti-Personnel Mines. They are faction specific, and have subtle differences about them. They can kill infantry without flak armor, and are also available to infiltrators.
- Tank Mines, also known as AV mines. Detonate under MAXes and vehicles. Engineers can use their repair tool to safely deconstruct enemy tank mines.
Suit Slots
Engineers have Flak Armor fully certed and equipped by default. In addition to that and other Suit Slots, Engineers have exclusive access to two other suit slots:
Mine Carrier
![]()
Rank 1: Increases carrying capacity of Anti-Tank Mines by 1.
Rank 2: Increases carrying capacity of Anti-Tank Mines by 2; increases carrying capacity of Anti-Personnel Mines by 1.
For Mine Carrier to work, you need to unlock and equip the corresponding explosive in your utility slot. Mine Carrier bonus does not depend on the rank of the explosive.
For example, you can have a Rank 1 Tank Mines and Mine Carrier Rank 2 and carry four Tank Mines. With both of them at max rank, you can carry five Tank Mines total.
Note, that you can only deploy the amount of explosive you carry with yourself. For example, if you have AP Mines Rank 2 and no Mine Carrier, you can place only two mines at a time. If you resupply at a terminal and try to place a new mine, the first one will disappear.
Mine Carrier increases the maximum number of deployables you can have out at one time, as long as that suit slot is equipped during deployment.
That means you can have fully ranked AP Mines (carry 2 mines) and wear a fully-ranked Mine Carrier (1 extra mine), place all 3 mines, remove Mine Carrier, and all 3 mines will remain.
Demolitions Pouch

Rank 1: Increases carrying capacity of C-4 by 1.
Rank 2: Increases carrying capacity of C-4 by 2.
Repairs
Engineers have a repair tool which can be used to repair vehicles, MAXes and base and MANA turrets, etc. Repair tool can also be used to safely deconstruct enemy tank mines and C4.
Unupgraded Repair Tool repairs 125 Health per second, and can keep repairing for 10 seconds before overheating.
Unlock cost: – / 10 / 30 / 50 / 150 / 500 Certs
Repair speed: – / 6.5% / 13% / 20% / 26.5% / 33% bonus
Overheat Threshold: 10 / 11 / 11.5 / 12.5 / 13.5
At maximum rank, Repair Tool can repair 1000 HP in 6 seconds, or 2244 HP over 13.5 seconds.
Vehicles with Rumble Seats, such as Flash, Harasser and Valkyrie can be repaired from these rumble seats at 60% of normal rate. Only one engineer on a rumble seat can be repairing at a time.
Giving ammo
![]()
Engineers can throw Ammo Packs to supply their allies and themselves with ammunition, rockets, UBGL grenades and infiltrator’s radar tools. You can resupply from enemy Ammo Packs.
Ammo pack is a physics object, and it will slide down slopes and it can be destroyed by enemy fire or EMPs.
Sticky Grenade
Damage: 1250 @ 2.5m – 10 @ 7m.
![]()
A variant of the normal Frag Grenade, that sticks to surfaces and players, and deals maximum damage in a wider area. Sticky Grenades are lethal to standard infantry within 3.4m, which is ~50% further than normal Frags.
Known bug: Sticky Grenades sometimes deal double damage, in which case they will kill a player even they’re wearing Flak Armor. Unclear whether this happens in general, or only when the grenade gets stuck to a player.
Nano-Repair Grenade

This utility grenade creates a repair field around it, repairing all repairable allied units for 50 Health for 10 seconds. This repair speed amounts to less than a third of a fully upgraded Repair Tool.
A player can have only one repair grenade active at a time. Repair grenades sticks to vehicles, MAXes and Generators. They will bounce off an allied NC MAX with Aegis Shield active.
Anti Materiel Rifle
NS-AM7 Archer anti-materiel rifle is a unique primary weapon, available only to Engineer. It is a bolt action sniper rifle with great hip fire accuracy, and deals a lot of damage to MAXes and minor damage to vehicles, and can destroy minor deployables such as Spawn Beacons in one shot.
More info here.
Aircraft Synergy
Engineers have a passive ability that allows them to automatically repair ESFs, Liberators and Galaxies they are occupying. This automatic repair is equal to vehicle’s Nanite Auto Repair Rank 1. Repairs from multiple Engineers do not stack, but engi auto repair stacks with NAR itself.
- Rank 1: Free – affects ESFs.
- Rank 2: 200 Certs – affects Liberators.
- Rank 3: 500 Certs – affects Galaxies.
Faster Shield Recharge
For other infantry, personal shields start recharging in 6 seconds after receiving damage. This delay is reduced to 4 seconds for Engineers. Faster shields can empower Engineers to spend more time manning turrets or even relentlessly hound enemies, especially when combined with ASC.
Recommended Early Certifications
In addition to other recommended certifications that are useful for all classes, Engineers benefit the most from:
Tool: upgrading your Repair Tool to Rank 5 will increase its repair speed, and it will take longer to overheat. 240 Certs.
Utility: Tank Mines deal high damage to vehicles and MAXes when they walk or ride over them. Rank 2 will allow you to carry 3 Tank Mines and cost 300 Certs.
Two tank mines are usually enough to destroy most vehicles and kill MAXes even with Ordnance Armor.
Advanced Specialization Program
You can read more about ASP here.
Shotgun Secondary
Allows use of Shotguns in the secondary weapon slot, excluding Auraxium weapons.
Sidearms are still going to be better for situations when you need to just quickly finish off an enemy after running out of ammo for the primary weapon, or when you are caught reloading or using Repair Tool.
Besides shortest Equip Time, sidearms also have fastest reloads, so they will also take less time to reload and go back to your primary weapon. That speed is what you would be losing when going for a shotgun secondary.
What you would be gaining is an ability to create more versatile loadouts by using a dedicated CQC primary in pair with a ranged primary. However, keep in mind that shotguns are notoriously bad when engaging enemies outside of ~5m, so even as the dedicated CQC primary, they may feel lackluster.
Another application is that you can use a slug shotgun secondary in combination with Archer primary, and in this way have a passable weapon for close and medium range, that is even occasionally able to reach out to longer ranges. While slug shotguns are not particularly stellar weapons, they are still more versatile than any sidearm, and have acceptable performance in face to face fights.
Assault Rifle Access
Unlocks access to Assault Rifles on the Engineer class, excluding Auraxium weapons.
Assault Rifles are the most versatile primary weapon class, and in some aspects can prove superior to Carbines. The big downside of ARs is that how inaccurate they become while jumping and falling, so no more crazy parkour engagements.
LMG Access
Unlocks access to LMGs on the Engineer, excluding Auraxium Weapons.
Same considerations as access to ARs, though LMGs’ main advantage is longevity; the ability to chain multiple engagements back to back thanks to their huge magazines. However, this goes against combat engineer’s playstyle – their only advantages are faster shield recharge and occasionally the ability to create cover, so they would benefit more from ARs.
All that said, Engineers are rightfully considered the weakest infantry class for direct combat, so perhaps you shouldn’t put too much thought into either ARs or LMGs.
Anti-Vehicle Grenade Access
Unlocks access to Anti-Vehicle Grenades on the Engineer. It’s a nice utility against vehicles and MAXes. Also useful against Sunderers in combination with Tank Mines or C4:
- Two Tank Mines and one AV Grenade will kill a Sunderer without special defenses, though Blockade Armor Sunderers will still require 3 Tank Mines.
- 2x C4 and one AV Grenade will strip off Deployment Shield, and then you can use 2x C4 and Crossbow’s Explosive Bolts, Archer, UBGL or more AV Grenades to finish off the Sunderer.
- 3x Tank Mines should strip off Deployment Shield, and then you can use 2x more Tank Mines detonated by AV Grenade to finish off the Sunderer, but that is tricky to pull off due to very specific timing. If the Deployment Shield starts regenerating before the second batch of mines is detonated, it will deal significantly reduced damage. There is pretty much only one correct order of actions: deploy 3x Tank Mines, detonate them with any weapon, then throw AV Grenade and throw 2x Tank Mines so that they are detonated by the AV Grenade. You will most likely die with the Sunderer, but that is the fastest way of killing one solo. Note that this has not been field tested.
EMP Grenade Access
Unlocks access to EMP Grenades on the Engineer. EMPs are widely considered the best non-lethal grenade. Even though they’re not as deadly as Sticky Grenades, they require much less precision, and are generally versatile. Also, EMPs can be used to devastating effect in combination with VS and NC anti-personnel mines.
Among other things, EMP Grenades can be used to remove potential Tank Mines in front of vehicle pads.
Share with:
Recent Comments